Although CCTV installation might be difficult, this straightforward and easy-to-follow basic CCTV installation guide will help you through the intricate steps of wiring up your system. Keeping in mind that everyone's equipment and application is different.
It is important to remember that if your IP address supports POE (Power over Ethernet), you will not need to power your cameras. However, you will need a power source for all your cameras if you have an analog or HD-SDO system
Here are six fundamental steps to set up a CCTV system:
Step 1: Examine the desired field of view but avoid placing your CCTV cameras directly on bright doors, lighting, or windows.
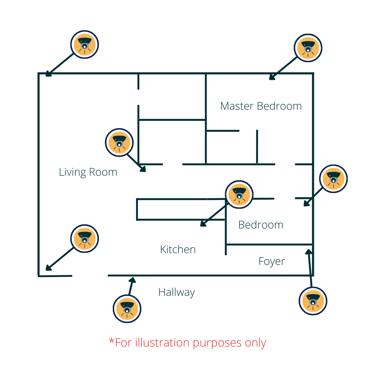
While adequate lighting is necessary, too much light might degrade image quality. When it comes to installing a CCTV camera system, finding the correct placement for your cameras and DVR is crucial to getting the most out of your cameras by reducing cable length.
Consider the following:
- For interior CCTV installation, the best location is a corner of the room with the most obvious entry points into your rooms.
- For the outdoors, a higher location that covers the door and window approaches is the best option.
- Power outlets should be close together.
- Each chosen location should be at least 10 feet tall to avoid being easily pushed down.
Step 2: Connect the wires
Ensure that one of the supplied pre-terminated wires has been run between the camera location and the control equipment (DVR) location at each camera site.
Consider the following:
- The male power plug should be on the camera side.
- The power socket should be situated on the side of the control equipment.
- After that, use the black BNC lead on the supplied cables to link each camera's video-out socket to a video-input socket on the DVR.
Step 3: Organise your Cables
Organising your cables does not only appear aesthetically pleasing, but it provides a cleaner space and extends the life of your cables while maximising their performance.
- To organize your cables: – Create a path for all of your cords, starting with the cameras and ending with the DVR device.
- When installing your cameras, drill pilot holes using the guiding marks. To help secure your camera, drill holes and hammer in the screw moldings.
- You'll need to plug the camera's power cable into a socket for it to work.
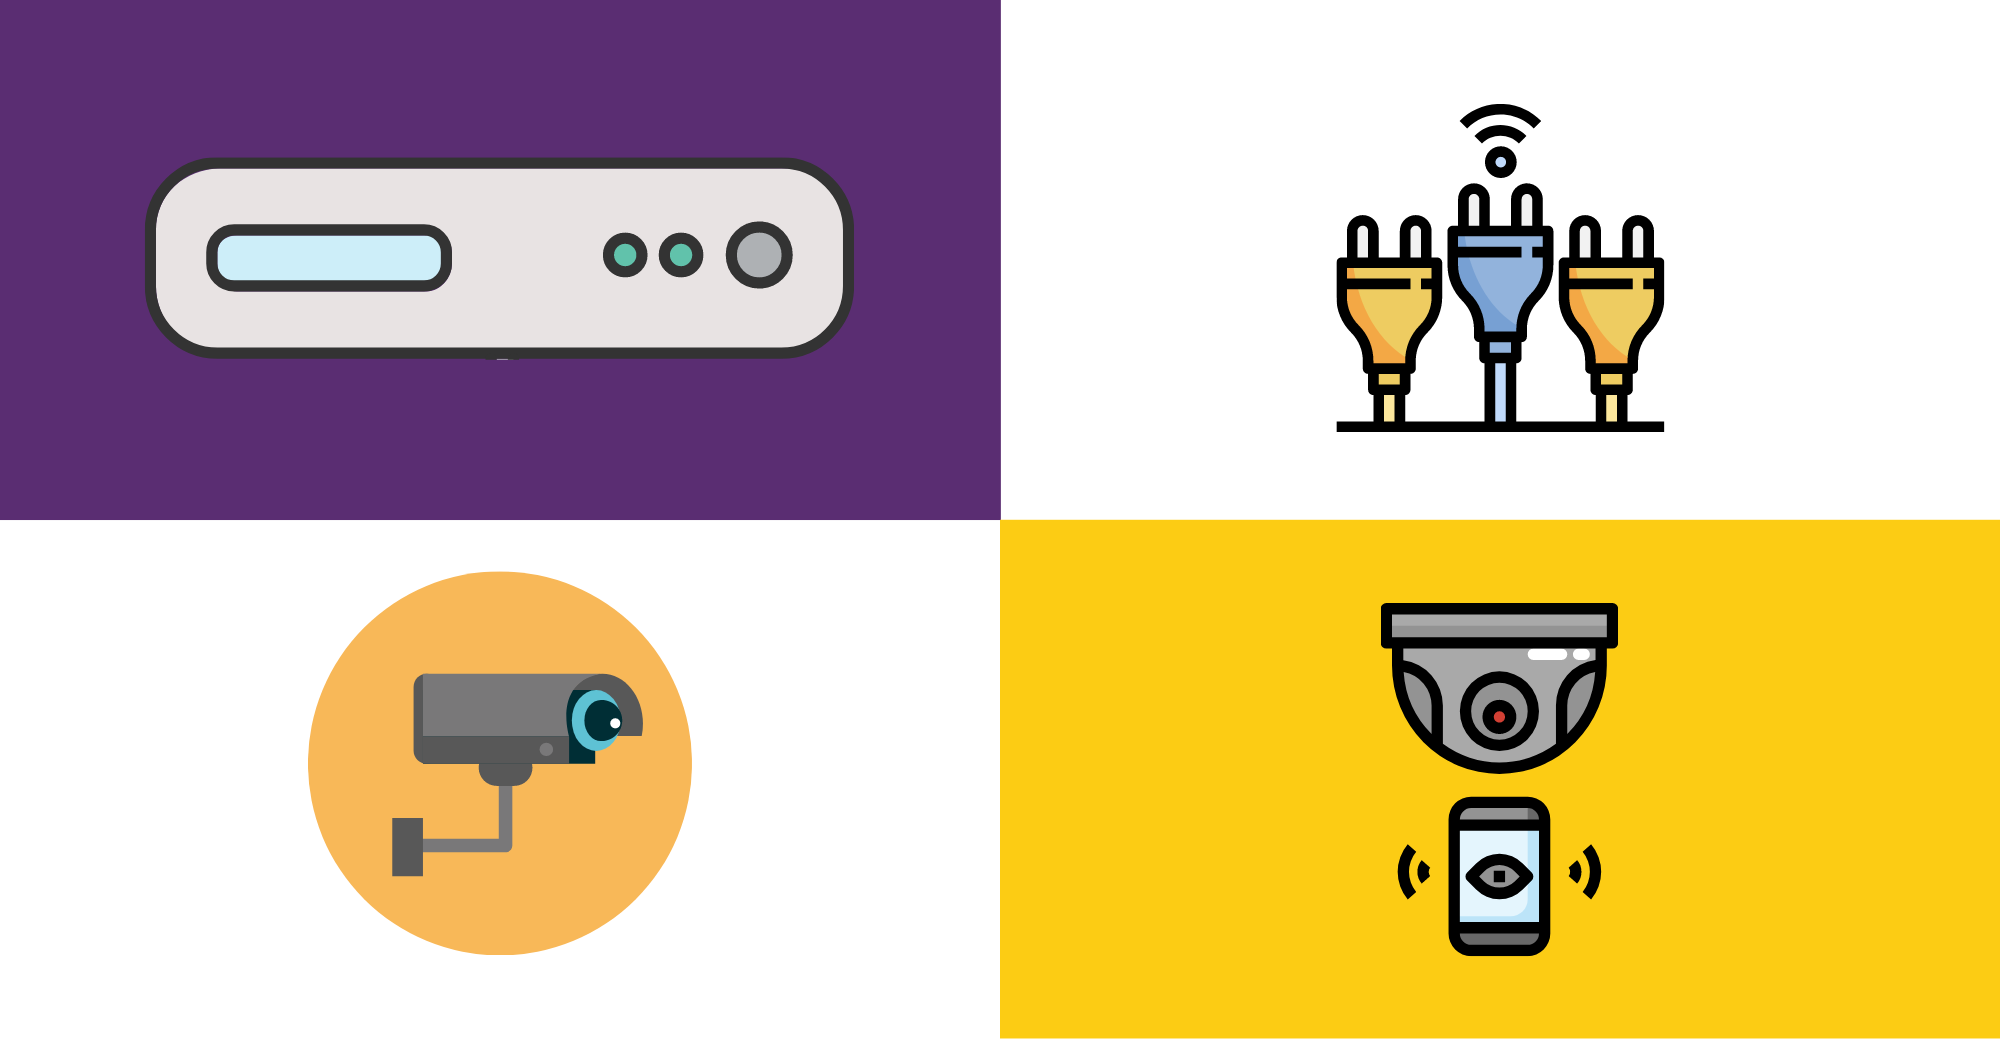
Step 4: Turn on the DVR.

Simply plug your DVR into the power supply input on the DVR. After that, you may connect the DVR, monitor, and camera power supplies to the main power source.
Consider the following:
- Because all CCTV recordings are kept on a DVR, it's critical to maintain your DVR in a secure and protected location.
- Intruders will be unable to destroy the recorded videos if they happen to notice them.
- When it comes to CCTV installation, this is the most important phase because it ensures a secure security system for your workplace or house.
- It's critical to protect your CCTV's DVR because it's where your surveillance hard disc is kept.
- Connect your monitor to the DVR in Step 5.
- To connect your display to the DVR, you can use a BNC-BNC cable, a Scart cable, or even a VGA cable. It's crucial to follow the manufacturer's connection instructions if you're using a TFT display.
Step 5: Connect your monitor to the DVR

To connect your display to the DVR, you can use a BNC-BNC cable, a Scart cable, or even a VGA cable. It is crucial to follow the manufacturer's connection instructions if you're using a TFT display.
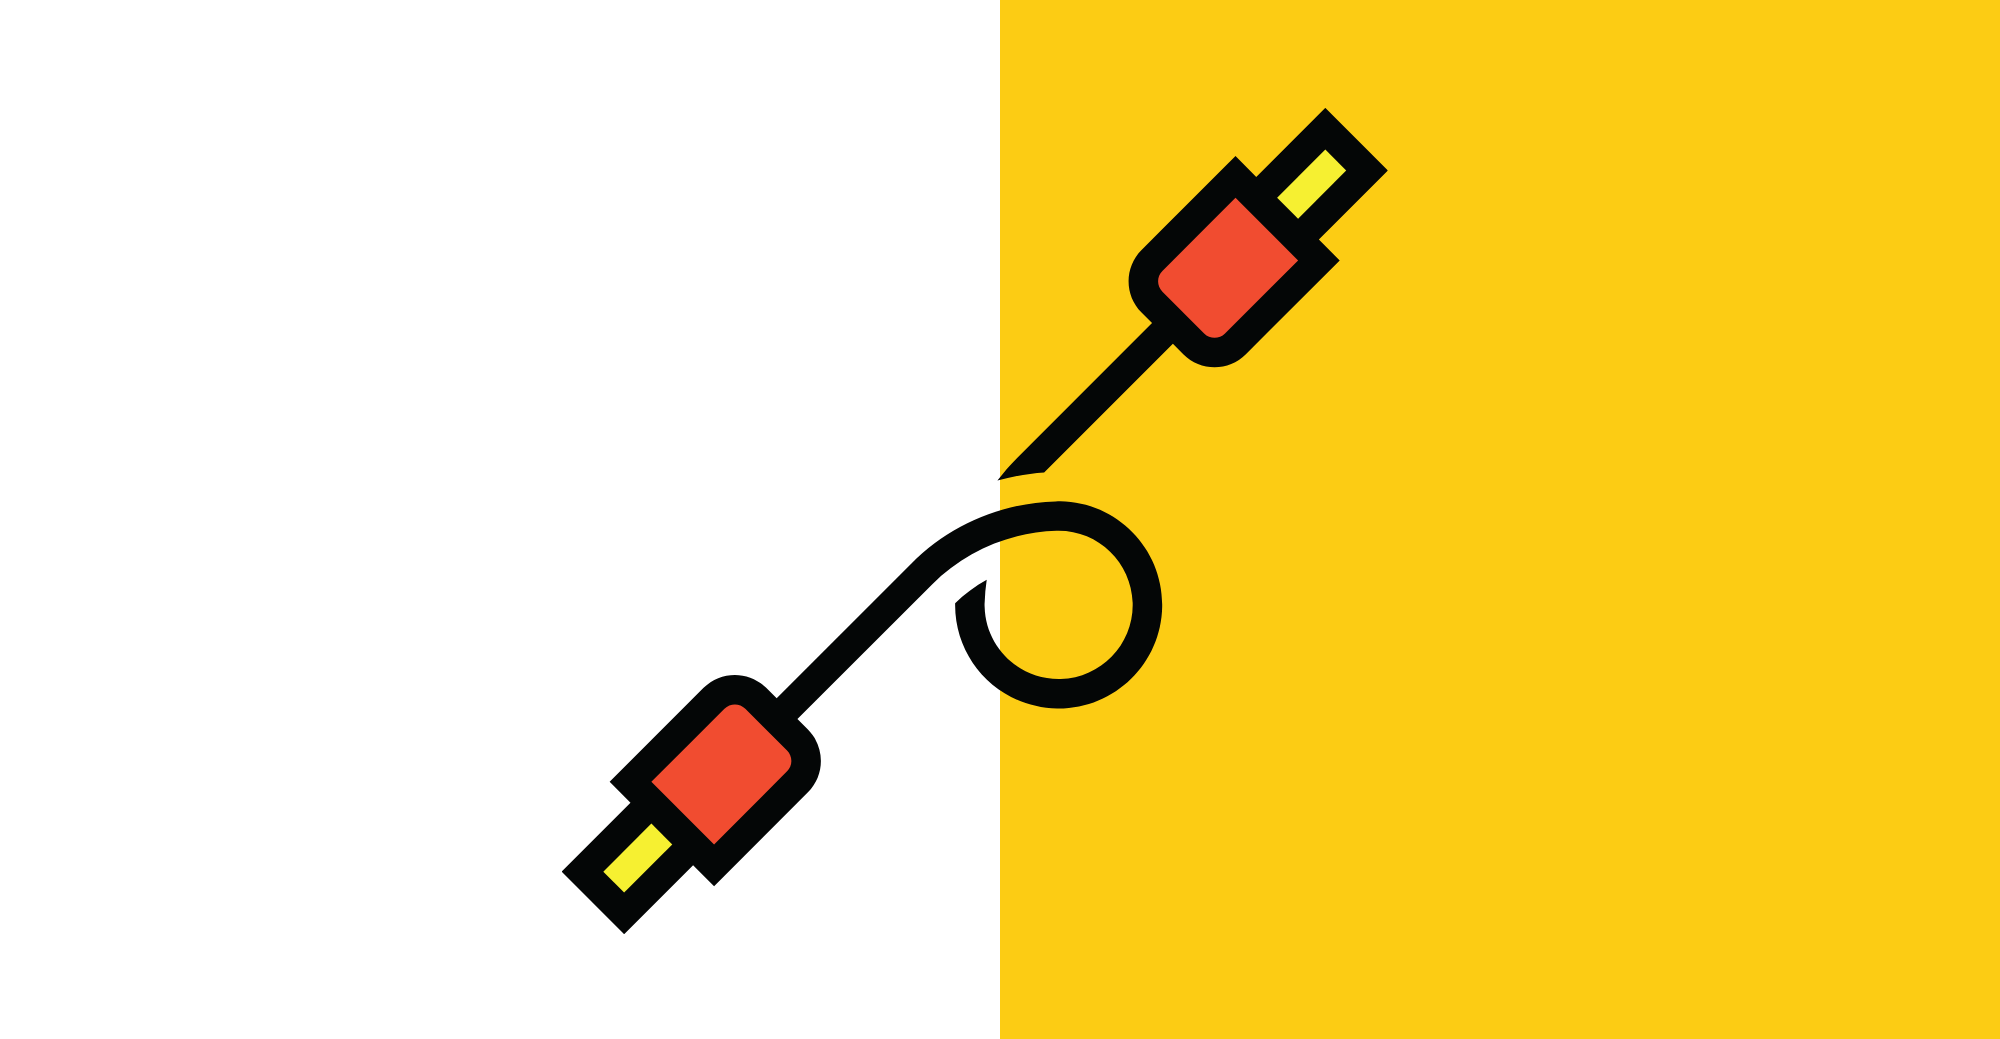
Consider the following: To connect your monitor to the DVR, you'll need to use a video cable and a BNC port. When connecting your BNC port, there are a few things to keep in mind. To begin, you will need to;
- Remove around 1.5 cm of the outer covering of your video cable to expose the braiding.
- Slide the crimping barrel towards the cable, with the larger diameter towards the cable end. The white insulation that covers the innermost cable should then be removed.
- To establish a secure connection, insert the exposed cables into your BNC port while screwing the crimping barrel.
- To view the video feed, connect your DVR's output port to a screen or monitor.
Step 6: Set up your DVR.

This is the last step when installing a CCTV system. Continue programming your DVR according to the instructions in the manual. Some manuals may require hard drive installation, while others may already have it completed and ready to start. Instructions for the DVR are frequently found on the CD or pamphlet that comes with the DVR after purchase.
Consider the following:
- Before you begin programming your DVR, you must first turn on your cameras, followed by the display, and finally the DVR.
- Follow the user manual that came with your DVR to set up your DVR.
- It's critical to check each camera's feed to ensure that it's working properly and that it's delivering the right viewing angle.
If you follow the quick and simple 6 guides outlined above, installing a CCTV system can be a simple task and may not require assistance from a professional. The steps were elaborated in detail, along with considerations to bear in mind when you set up your CCTV. However, because your DVR is where you store all of your footage or movies, it is vital to keep it safe at all times.
Furthermore, choosing a suitable location with adequate lighting for your CCTV cameras is essential to ensure high-quality images are captured. To avoid harm from intruders, keep the DVR in a safe and secure location. Keep in mind that there are ample CCTV kits to purchase, and it is best to choose kits that are DIY-friendly. To keep your personal space and business secure, it is important to invest in a high-quality CCTV camera for high-quality photographs and recordings.