
- You can only downgrade to Windows 10 within the 10 days of your upgrade. For example, if you upgraded to Windows 11 on 1 Sept 2021, then you can downgrade within 10 days. If you want to increase time limit to downgrade to Windows 10, please run the command as below:
- DISM /Online /Set-OSUninstallWindow /Value:60
- Previous Windows version files, typically Windows old folder and other required files should be present on your system.
If above requirements are not meet, you wont be able to go back to Windows 10. The only way you can downgrade after that is to do a clean installation.
Preparing for downgrade from Windows 11 to Windows 10: Note that you must backup files you created after upgrade to Windows 11 because the downgrade process may remove them. Additionally, the programs you installed and settings you configured after Windows 11 upgrade, will need to be reinstalled and reconfigured, respectively. For the downgrade process to be successful, make sure you keep your system on, it is recommended that you connect to an AC power source, in case if it is low on battery.
Steps for downgrade: Here’s how you can downgrade Windows 11 to Windows 10:
1. Open Settings app on your Windows 11, go to System > Recovery. Under Recovery options, click Go back. 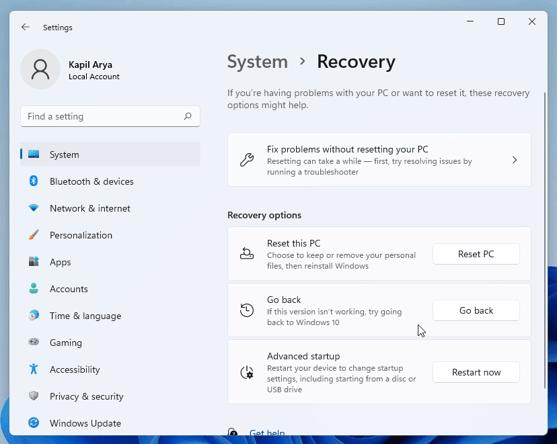
2. Now Go back to Windows 10 screen should appear. Under Why are you going back, select a reason and click Next. 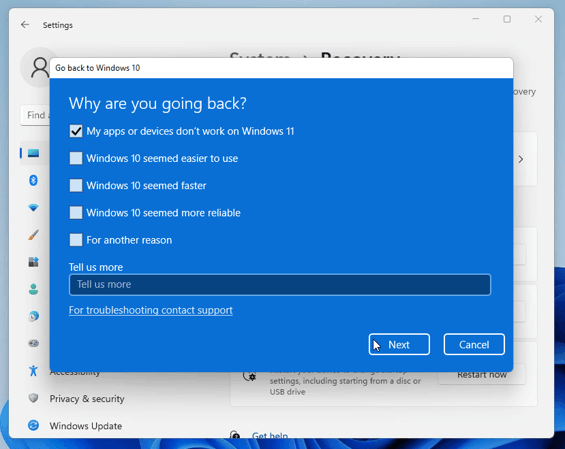
3. In next screen, select Check for updates. If that doesn’t work, click No thanks. 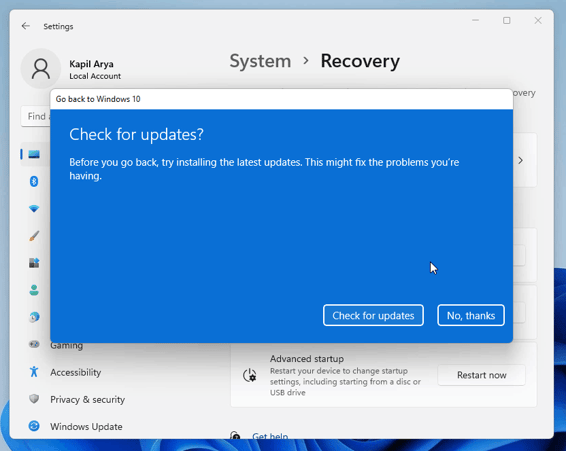
4. Under What you need to know, make sure you go through this information completely. When you’re ready, click Next. 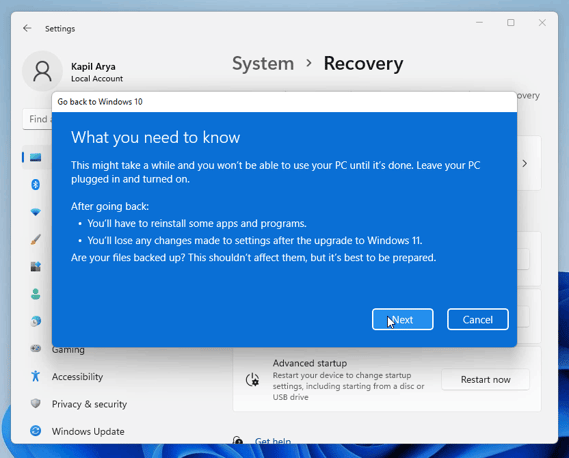
5. As per the next screen, make sure you remember Windows 10 password so that you don’t get locked out. Click Next to proceed. 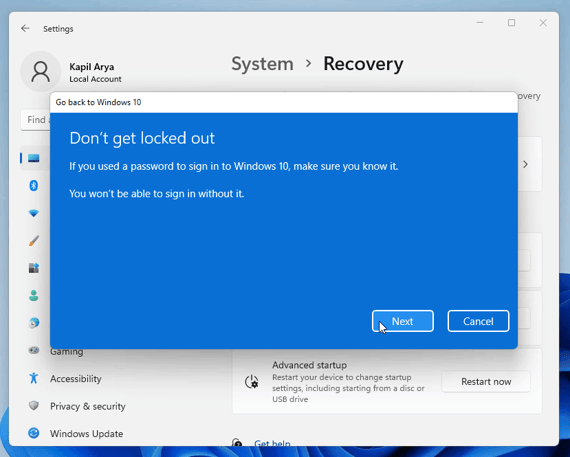
6. Finally, click on Go back to Windows 10. 
7. Your system will now restart. 
8. After restart, you’ll see Attempting to recover installation. 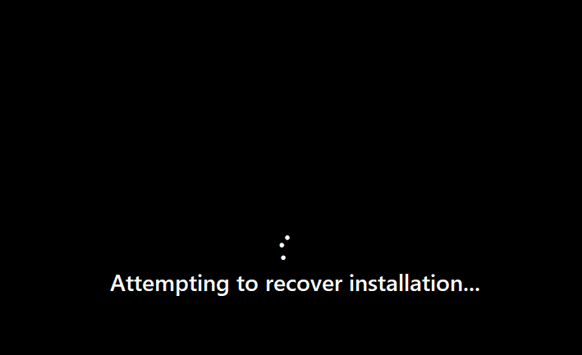
9. In few moments, you’ll see Restoring your previous version of Windows. This will take time depending upon your system and data being restored. 
10. After this, your system will restart and this time you’ll see Windows 10 boot screen.
11. Then in next few moments, you should be able to login to your Windows 10. 
12. After login, you can check your Windows 10 version by running winver command. 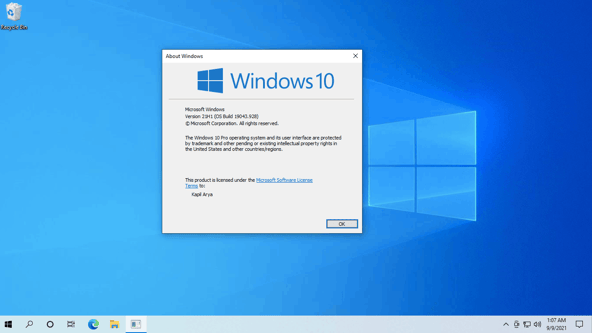
This completes the downgrade process from Windows 11 to Windows 10